Above Fireplace Crown Molding That Continues Past the Ceiling
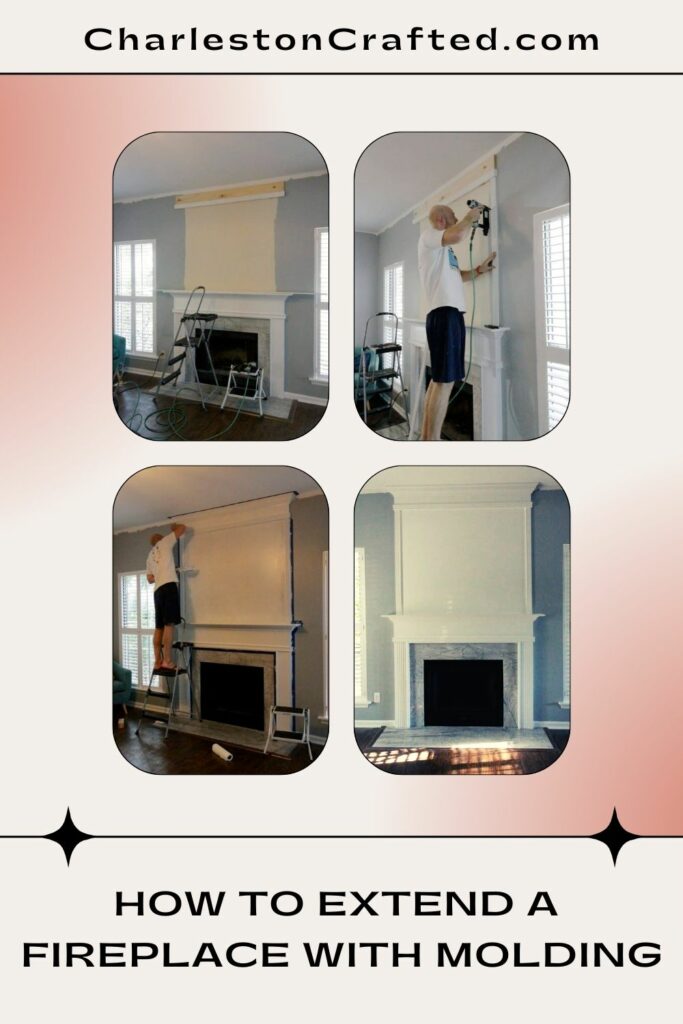
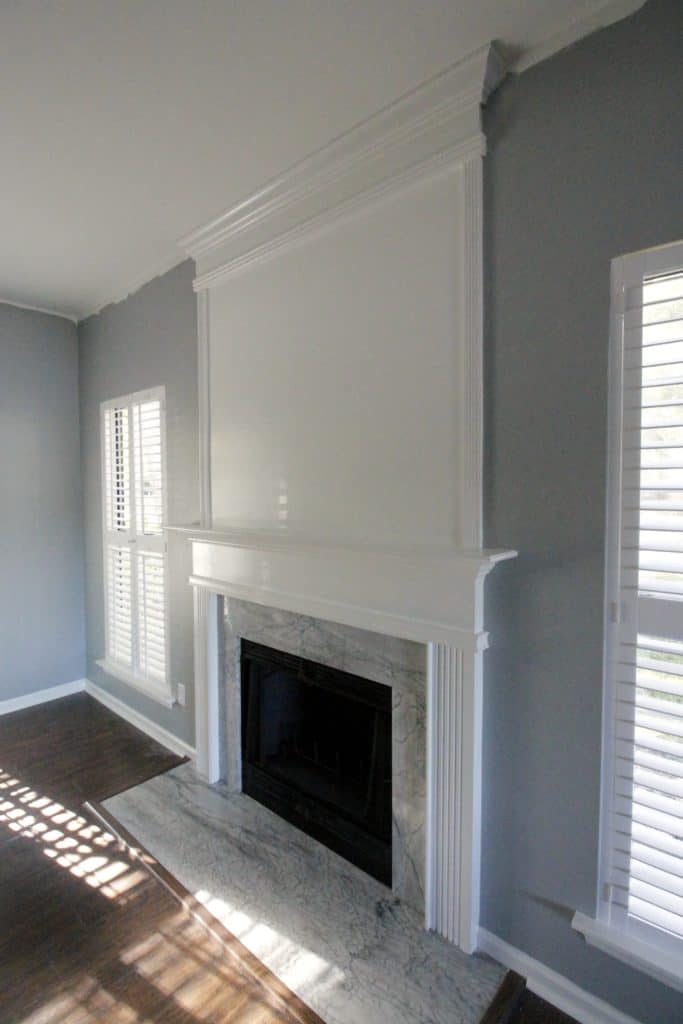
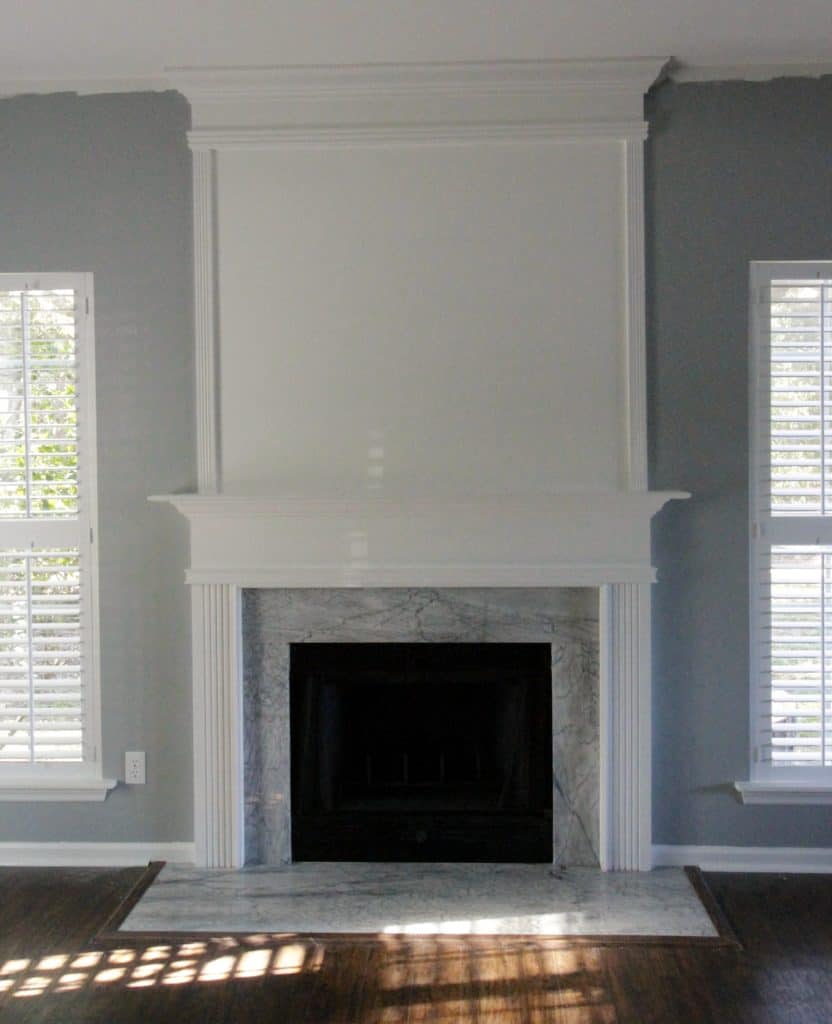
Want to give your boring fireplace a grand look on a budget? Here's how to extend your fireplace with molding!
You might remember that we are participating in the One Room Challenge and are focusing on making over our front room.
Week 1: The Plan
Week 2: Painting and Large Furniture
See the full room reveal + budget breakdown here!
It's the first thing people see when they come in. We removed some walls to open the space up in September, but we still had a big plain wall above the fireplace.
A lot of people put a TV above the fireplace, but we're leaving this room TV free. So we needed to do something.
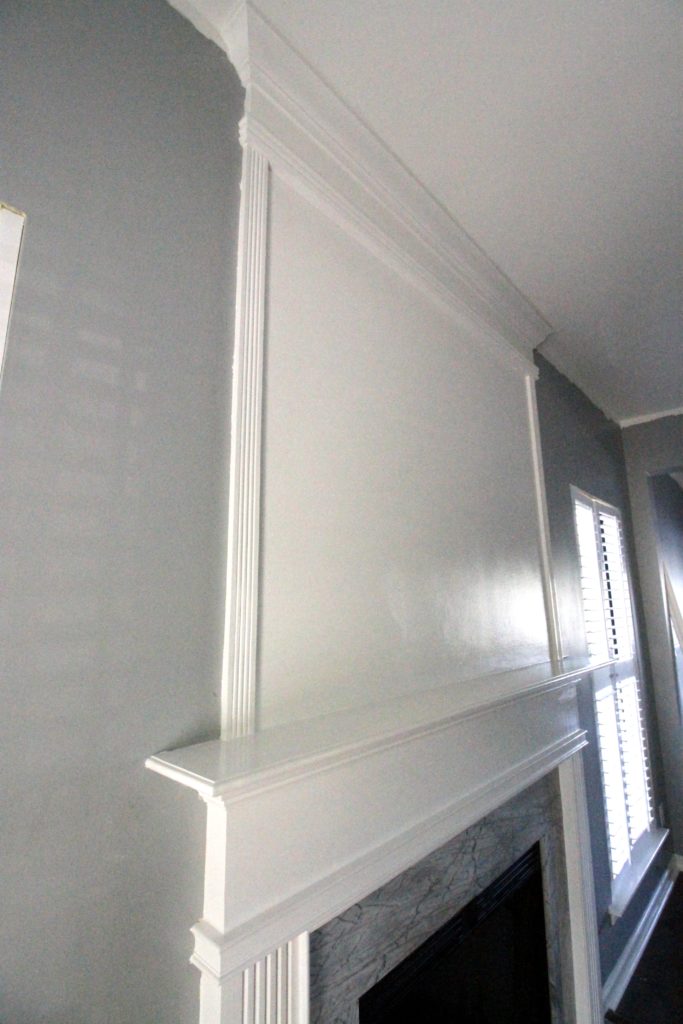
We wanted to make the room look more regal, and truly formal since this is our "formal living room", so we decided to extend our fireplace to the ceiling.
Love simple DIY projects like this one? Sign up for our free email newsletter!
How to use moulding to extend your fireplace to the ceiling
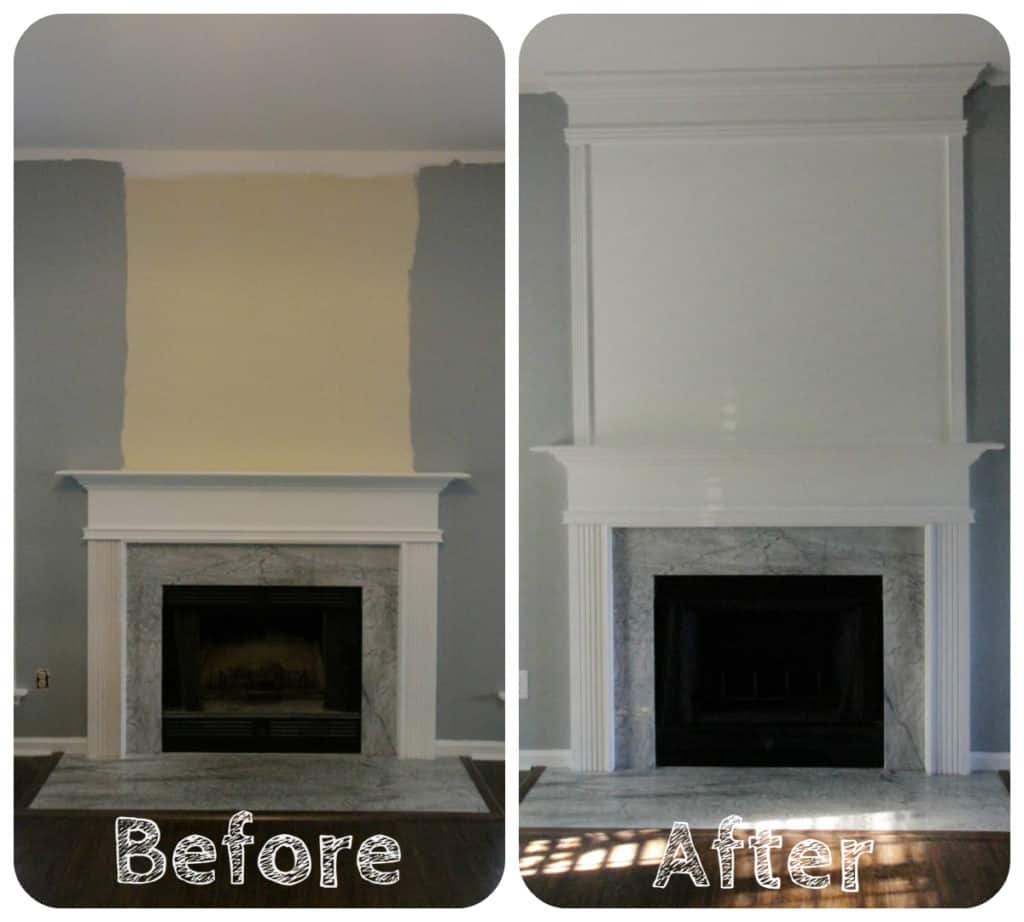
This project was actually fairly simple, but took a little time. All it is is crown moulding and paint. Simple as that to make this look like a grand fireplace.
We started by measuring the the width of the fireplace and cutting a 1×6 piece of wood to that length.
You don't have to put up a board, but we wanted to have the crown pop out more three dimensionally.
Next, we added a piece of wall moulding to the bottom of the board using a brad nailer.
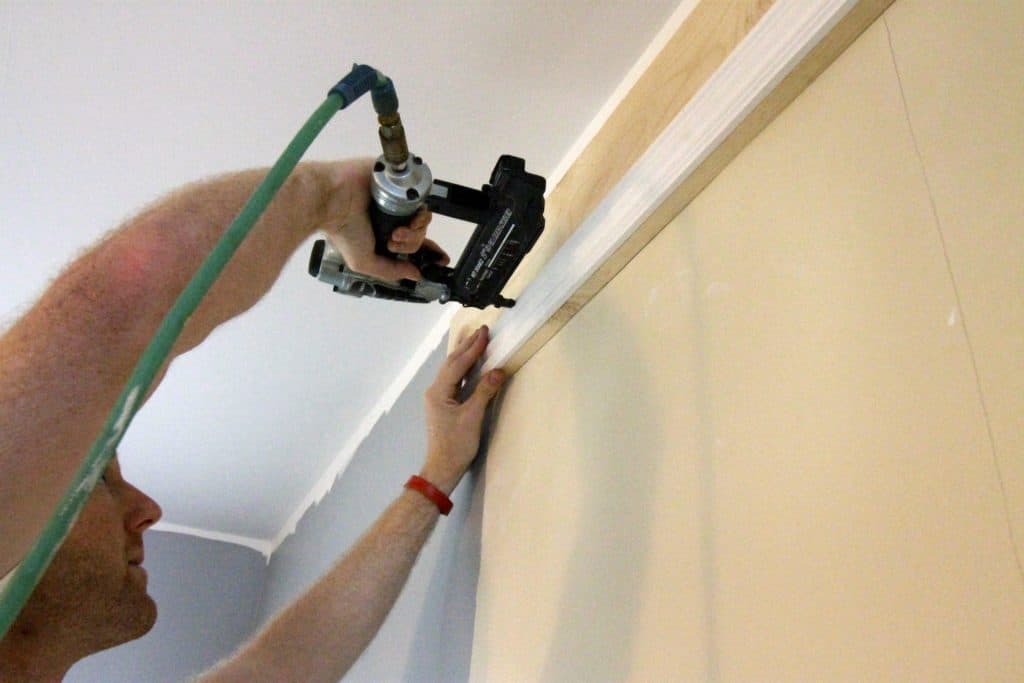
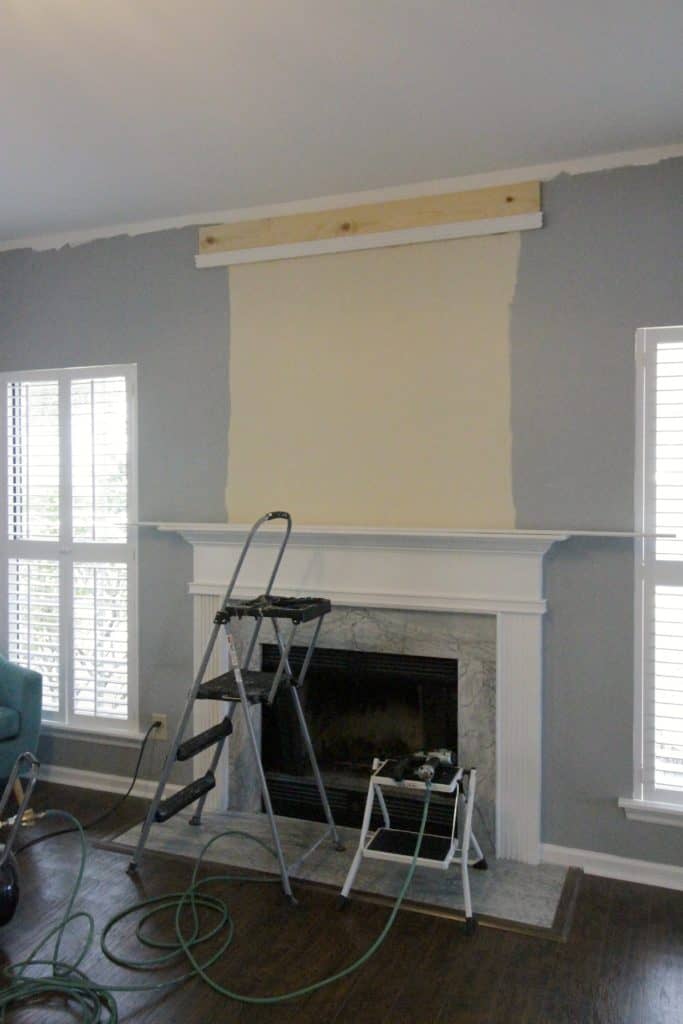
Next, we added two pieces of wall moulding vertically on the ends of the board to give the extension feel.
These were the easiest part of the project because they were flat cuts!
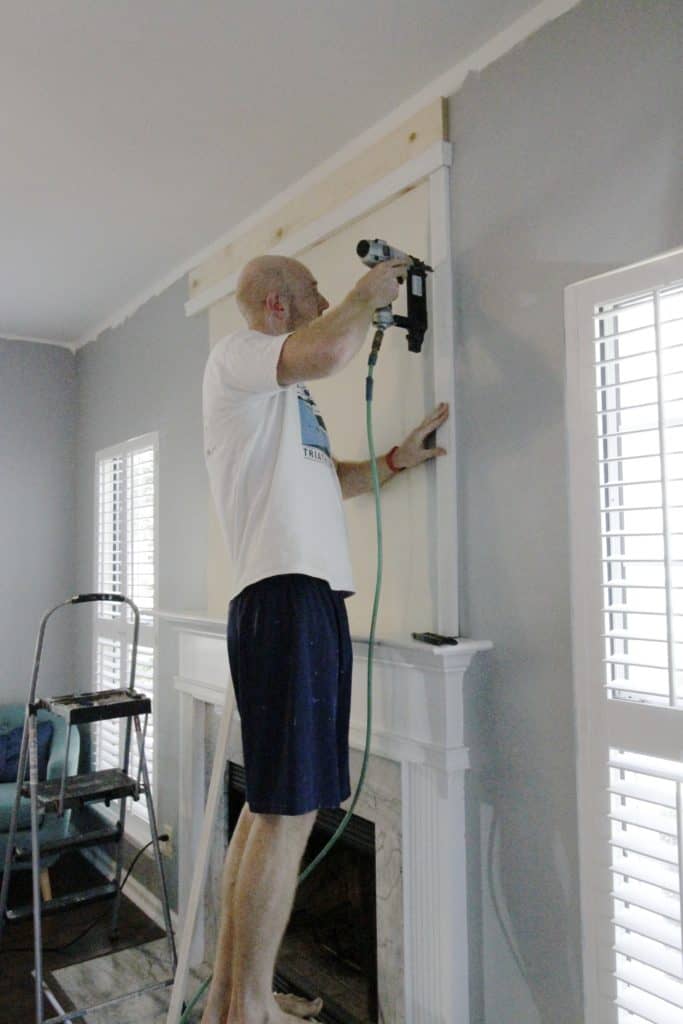
Finally came the thick crown moulding for the top. This part was hard. We've always heard that crown moulding is a b!tch to hang, and it was.
We read the instructions from my miter saw and watched YouTube videos. Everything says to cut the crown moulding at an angle and upside down.
Well, that didn't work for us because the moulding was too thick and the blade wouldn't go all the way down. Sigh.
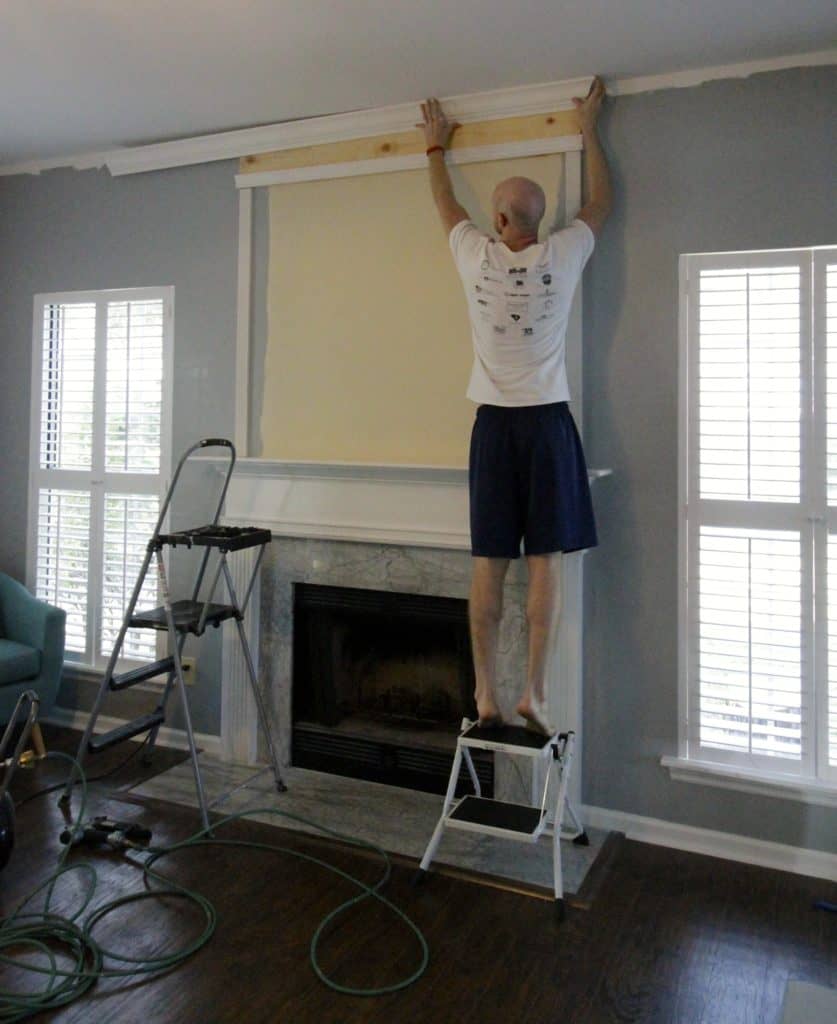
So, after much frustration, we decided to just try lying the crown moulding flat on the saw and making a compound cut plain and simple.
That means cutting with a bevel and a miter, to create two angles at the same time.
Holy crap, it worked. We were flabbergasted. I don't know if this would work every time, but for my saw, it worked great.
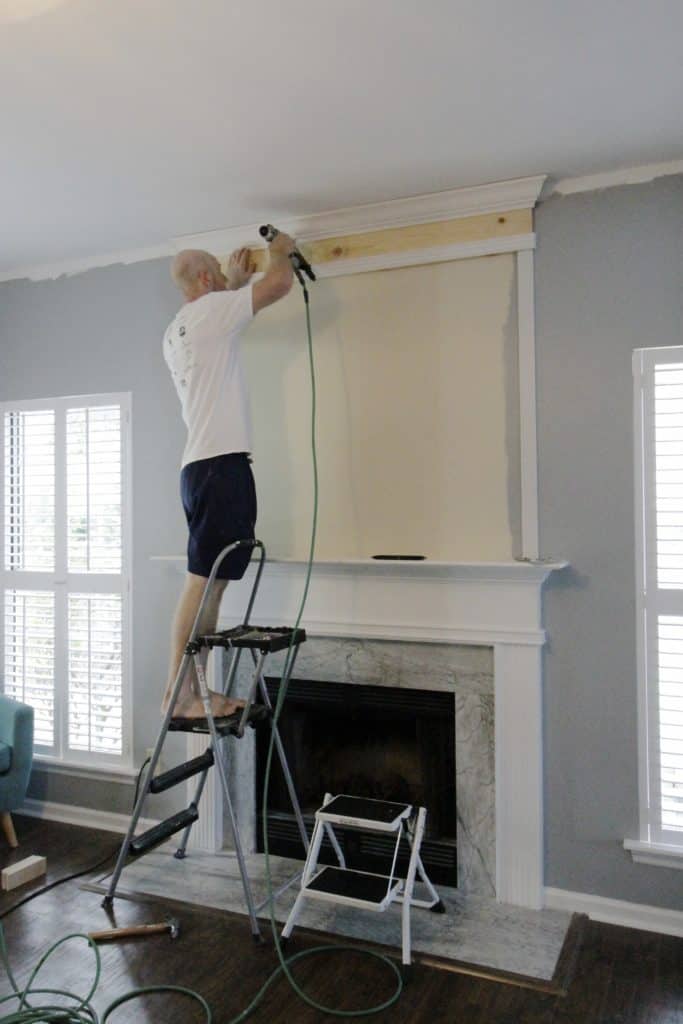
We hung the main piece and then cut the small pieces to go on the sides and hung those to make the crown at the top.
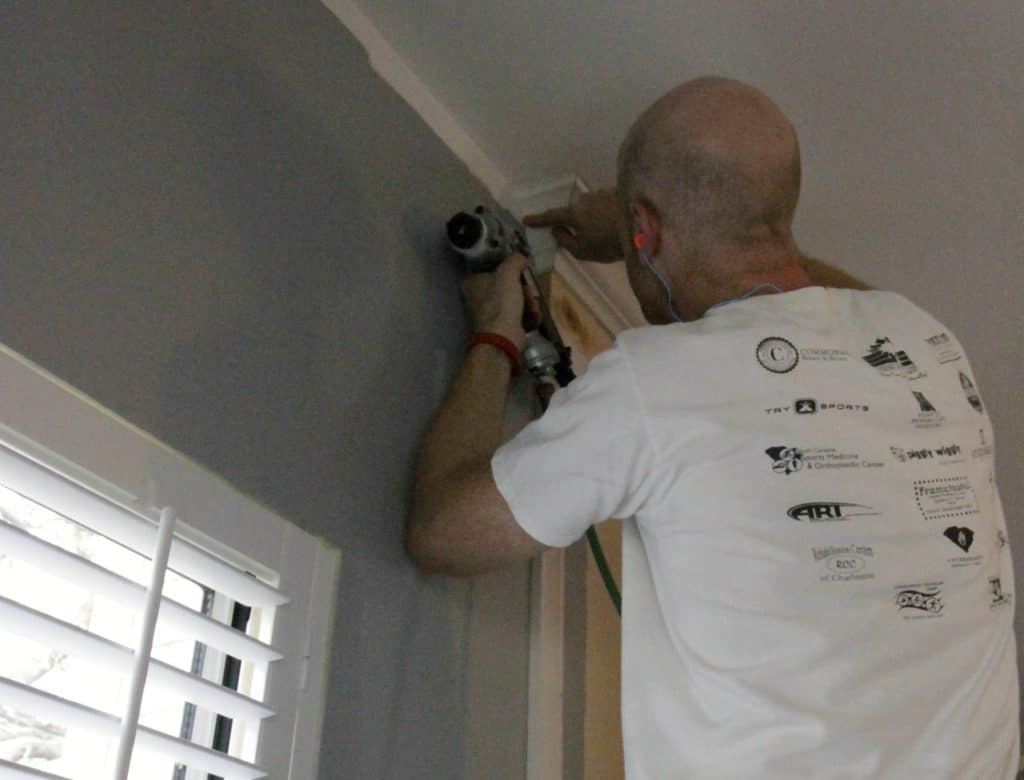
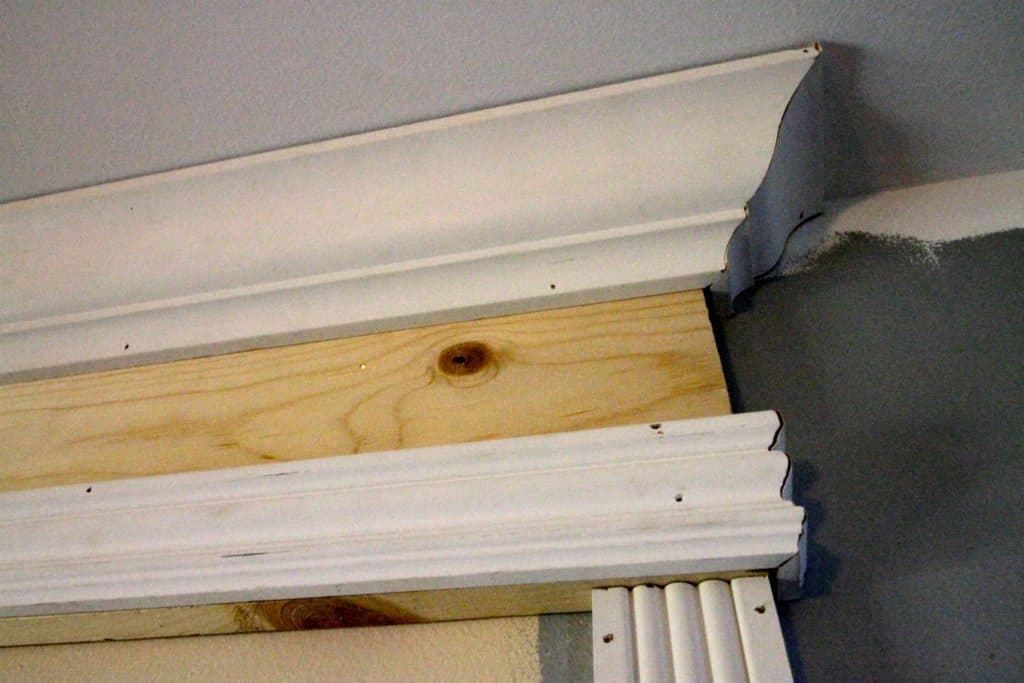
Once everything was hung, we used caulk to fill in all the seams between each piece.
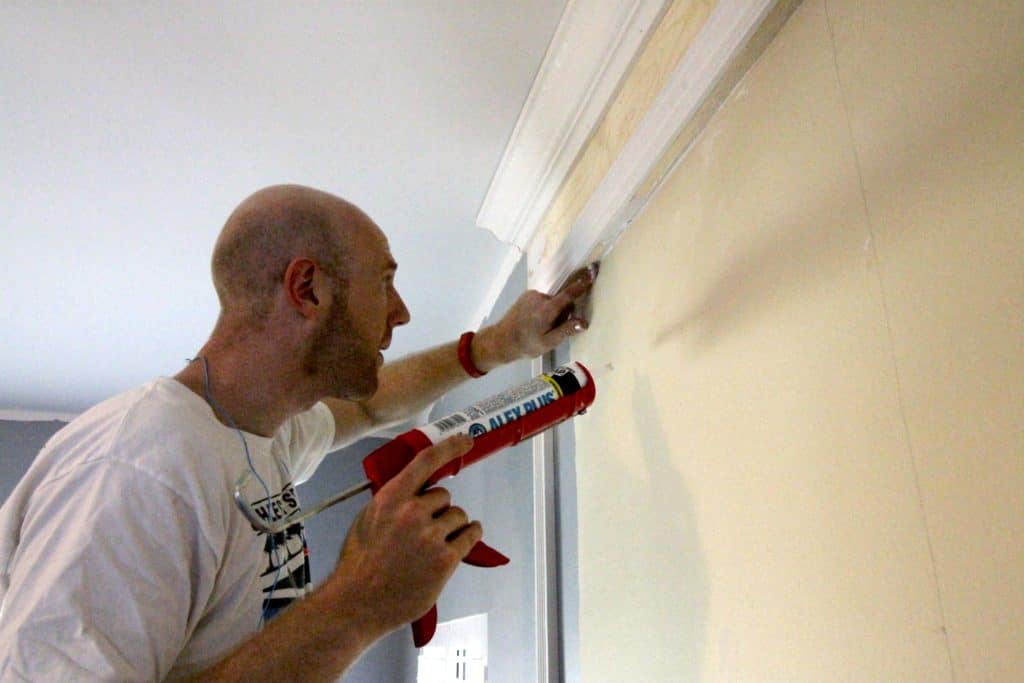
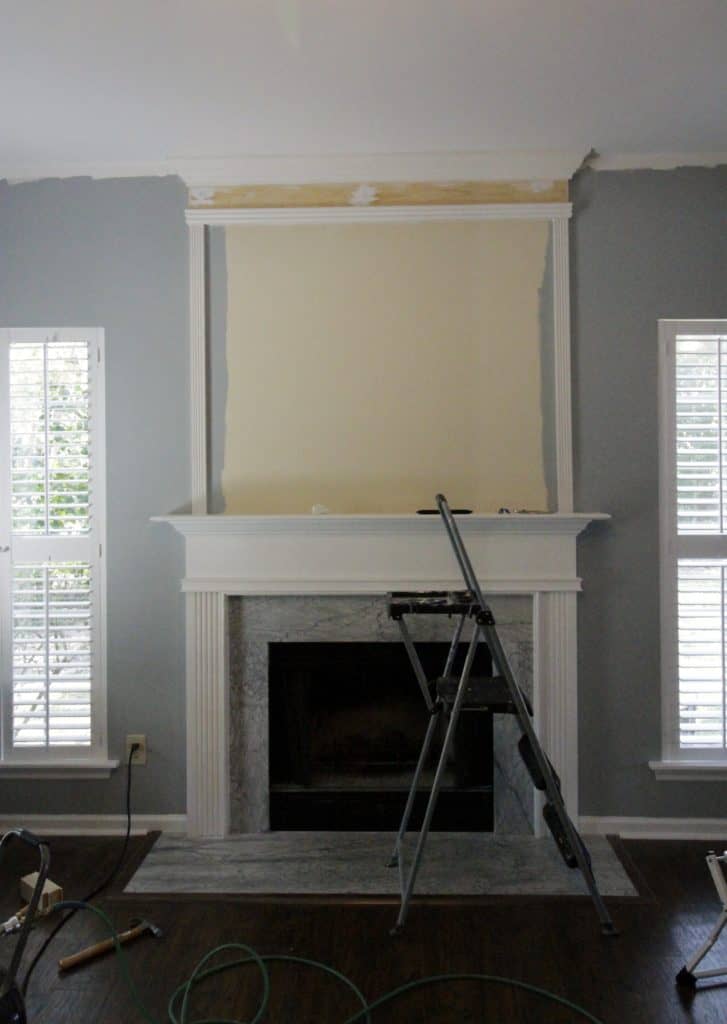
The last step was paint. We were using semi-gloss trim paint, which took a lot of coats.
We did a fresh coat on the pre-existing fireplace mantle, two coats on the pre-primed new moulding we hung, and FIVE coats on the wall in the middle.
That stuff just doesn't cover well, but it looks great after.
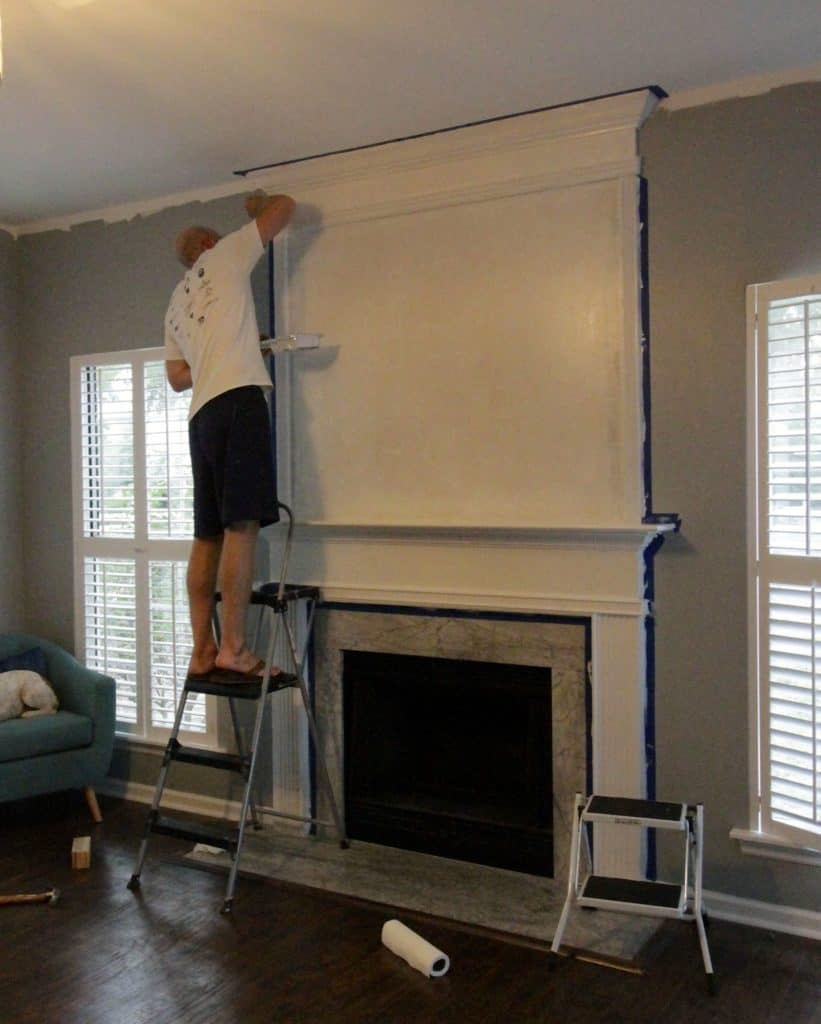
The room looks so nice and regal now! I can't wait to get a huge canvas hanging up there.
Love this project? Check out our list of TONS of DIY fireplace makeover ideas!
That was our big update for the One Room Challenge for this week, but we have lots in store for the upcoming weeks! Stay tuned.

Facebook | Instagram | Pinterest | Twitter | YouTube


Can we send you our newsletter?
Another great way to keep up with out latest projects is by joining our weekly newsletter! Get alerts of our latest projects and special peeks behind the scenes!
Follow along on Instagram
Join our online community where we share real time behind the scenes looks at our DIY projects and peeks inside our home + family!


Source: https://www.charlestoncrafted.com/orc-week-3-use-moulding-extend-fireplace/
Post a Comment for "Above Fireplace Crown Molding That Continues Past the Ceiling"